In this beginner-friendly guide, learn to fertilize container gardens, including how and when to feed your potted herbs and vegetables.
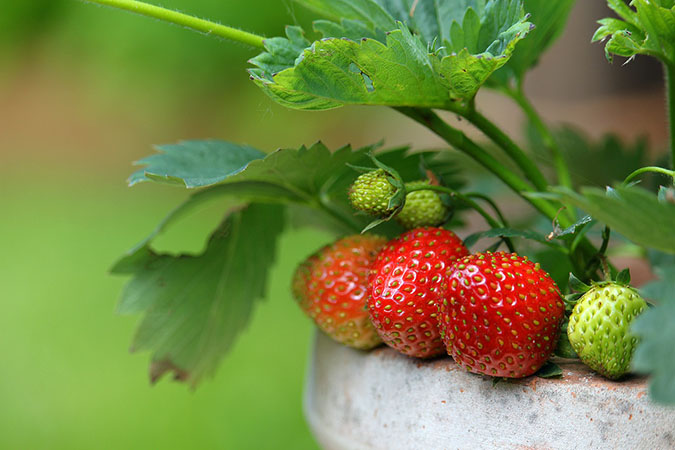
Image by Kerstin Riemer from Pixabay
How to Fertilize Container Gardens
When you’re new to growing vegetables and herbs in pots, figuring out the how, when, and what of fertilizing container gardens can feel overwhelming. This article offers a beginner-friendly guide to feeding your potted edibles.
Growing Food Without a Garden
Growing food without a garden is a labor of love. My own life as a vegetable gardener started out on a series of tiny balconies and in small window boxes.
While I have since been blessed with much larger areas for gardening, I still hold a special place in my heart for potted herbs and greens.
Among people like me with a love for growing vegetables and herbs in pots, one of the more common questions is about the best way to fertilize container gardens. The answer is a bit complicated, and really varies based on your level of gardening expertise.
If you regularly fertilizer your container plants already, but you’re interested in finding organic substitutes for store-bought fertilizers, read Joe Urbach’s article, “15 Simple and Inexpensive Homemade Fertilizers.”
If you want to find organic substitutes for granular fertilizers, this resource is helpful: “How to Measure Your Favorite Organic Fertilizers.”
But if you are just trying to get started—if, for example, you purchased a basil plant and put it in a pot on your kitchen windowsill, and now you’re wondering what to do next—this article is especially for you.
Why You Should Fertilize Container Gardens
Plants grown in boxes and pots are a little bit like a baby in a bubble. They’re cut off from the natural world around them by a container.
Several feet away, in the ground, there is a flurry of organic activity taking place in the soil. But in an isolated container, there is much less organic microbial activity, and the plants in that container aren’t getting all of the beneficial nutrients, minerals, and enzymes that they would get if they were in the ground.
Fertilizing is about supplementing the soil in your pot, to make it more like the soil in the ground.
In the ground, there is always some presence of the key macro nutrients that are required for plant growth and fertility. Most likely, your potting soil has some concentration of these nutrients—but in theory, you could create a container environment that is completely devoid of key plant nutrients. Fertilization is how you can manage the levels of these nutrients in your potting soil.
Finally, when a plant in the ground uses available nutrients to grow and fruit, those nutrients are slowly replaced by natural processes in the soil around it.
You May Also Enjoy:
“The #1 Tool for Organic Growers”
“Clay, Sand, Silt, or Loam? Discover Your Garden’s Soil Texture In 5 Easy Steps”
“At-Home Soil Test Kits: How to Use Them . . . And Why You Should”
A plant in a container doesn’t always have that advantage, and it is much more prone to “using up” its available nutrients, creating a situation where one or more nutrients are not available in the amount required by the plant to keep growing and fruiting.
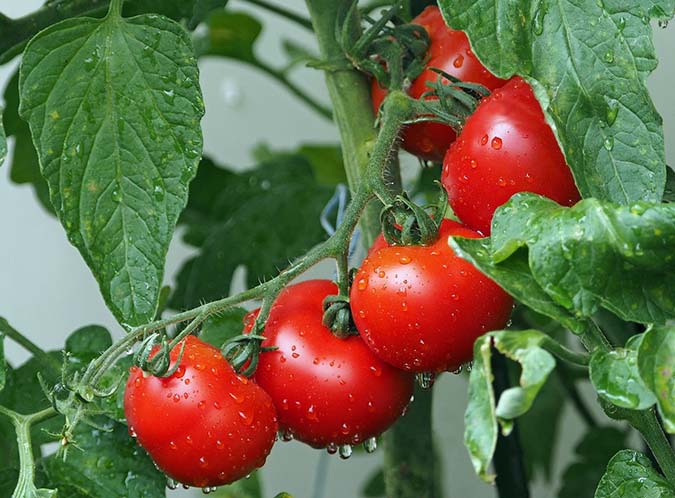
When I worked at The Natural Gardener, I would demonstrate this to people by using my hands to estimate the size of a good slicing tomato. I would say, “Your plant is going to make tomatoes this big using only water, sunlight, and the nutrients in the soil. How many tomatoes this size do you think it can make before it runs out of nutrients in its little pot?” I think that’s an effective illustration. In a container, the nutrients get used up relatively quickly, and so it becomes important to keep adding fresh nutrients to the soil.
Compost in Potting Soil
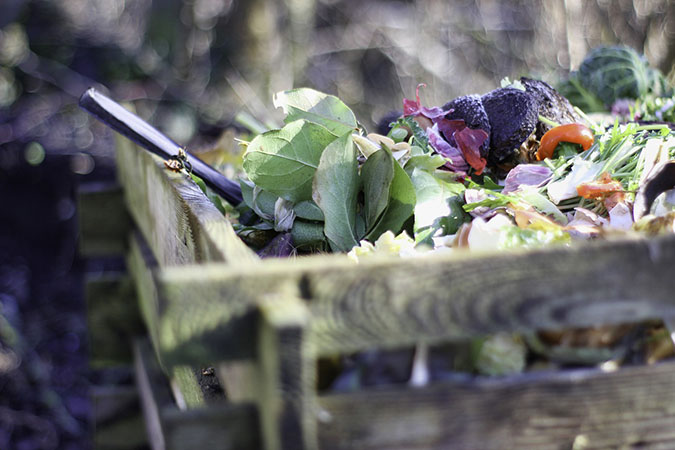
Perhaps the best way to prevent the “baby in a bubble” situation described above is to use fresh, finished compost in your potting soil.
Growing vegetables is a different game than growing houseplants, and in this case you’ll have better success with a healthy, living soil.
- If you can get some fresh, finished compost from a friend or neighbor’s bin, this would be an awesome addition to your potting soil. If not, get some from a nearby nursery.
- If you can get some fresh, finished worm castings from anywhere, definitely add those.
- If you can get some aerobic compost tea, absolutely use that. (More on that below.)
- After you incorporate compost, castings, and compost tea, add a little molasses to feed the microbes and get them growing strong.
Click Here to See How to Make Your Own Worm Castings at Home
Now, a caveat: You can somewhat recreate a healthy, living soil by adding all the right stuff. If you do this, you’ll need fewer supplements. You can somewhat “fake” a healthy soil by continually adding artificial nutrients, but the plants grown in that way won’t be as good nutritionally as plants grown in a healthy, living soil.
You May Also Enjoy:
“Simple & Effective Worm Composting (VIDEO)”
There’s just no substitute for the real thing.
Don’t, however, just dump your garden soil in a pot. Do use a potting mix, any potting mix—homemade is good.
A 4-Part Recommendation for Fertilizing Container-Grown Vegetables and Herbs
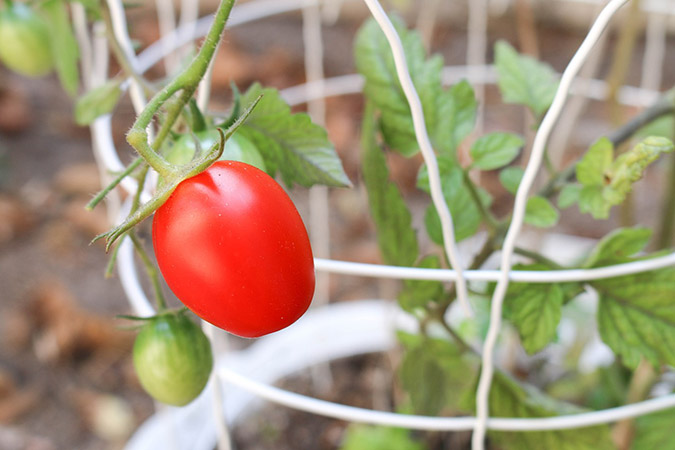
Image by forstefany from Pixabay
All of the following recommendations can easily be classified into one of four main categories:
- Liquid fertilization
- Liquid supplements
- Granular fertilization
- Granular supplements
For a basic beginner’s approach, you can get by doing only the first one, liquid fertilization. I think this is the bare minimum if you want to grow healthy food in a pot.
If you’re overwhelmed by this information, or if you’re just too busy to fuss with it, simply pick up a bottle of liquid organic fertilizer and start there.
That alone will probably take care of most of your problems, and greatly improve the quantity and quality of the food you grow.
An ideal regimen to fertilize container gardens would include all four of these categories. If you have a special baby in a container, do all four. Your plant will thank you for it.
I do all four of these for some edibles that I grow in pots—especially fruit-intensive plants like tomatoes.
You May Also Enjoy:
“Compost Tea: An Easy Way to Stretch Your Compost”
“Aerobic Compost Tea, Worm Tea, and Leachate—A Clarification”
“Extreme Composting: Say Goodbye to Landfills and Hello to Soil Fertility”
There are a few key exceptions that I’ll talk about below.
As you learn more, you’ll figure out which bits and pieces are most important for different plants, for different problems, and for different uses.
- When I first noticed the visual difference in my aloe plants after they got a handful of mineral sand, something clicked, and I haven’t planted aloes without trace minerals since.
- When I saw how much resin accumulated on a calendula plant that grew in a tomato pot with regular high-potassium fertilizer, something clicked, and now I always use high-potassium fertilizer on calendula.
- When I first saw the visual difference in my strawberries after they were treated with liquid seaweed, something clicked again. I don’t grow strawberries anymore, but if I see someone else’s strawberries suffering, I know that a little liquid seaweed will probably fix them right up.
This is the learning curve, and with each new experiment, you’ll add another piece to the puzzle.
Schedules for Container Plant Fertilization
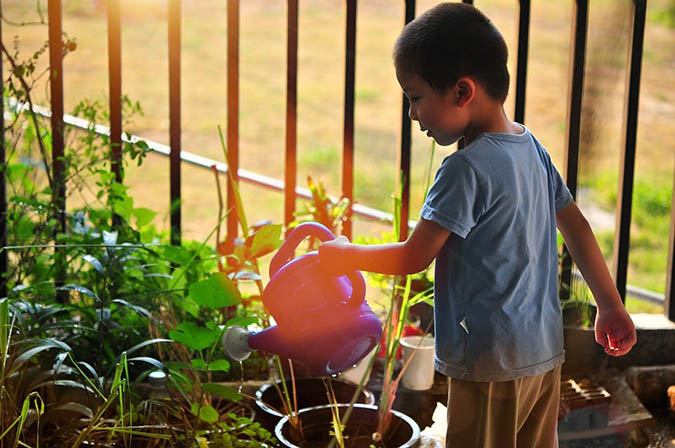
Image by Phichit Wongsunthi from Pixabay
As I said above, I think the best basic, beginner’s plan to fertilize container gardens is to use a simple, well-balanced, organic liquid fertilizer. There is more information on specific fertilizers below.
The Basic Schedule
Regarding the schedule for using fertilizers, I generally would recommend one application every two weeks.
So, a basic schedule would look like this:
- Week 1: Liquid fertilizer
- Week 2: Skip
- Week 3: Liquid fertilizer
- Week 4: Skip
- Repeat indefinitely
An Intermediate Schedule for Certain Situations
If I notice that the soil smells off in a certain pot, I will often apply aerobic compost tea to restore healthy microbial life to the container. I apply this on the off weeks when I am not giving liquid fertilizer.
If I am growing a crop that specifically appreciates some liquid seaweed, like strawberries, or leafy spring greens that have survived into the heat of summer, I will also apply the seaweed on the off weeks.
So, an intermediate schedule might look like this:
- Week 1: Liquid fertilizer
- Week 2: Liquid supplement
- Week 3: Liquid fertilizer
- Week 4: Liquid supplement
- Repeat indefinitely
An Advanced Schedule for Special Plants
If I am growing tomatoes in a pot, I go all out. I use all four categories, and I give the plants everything in my arsenal to ensure a healthy life and a good yield.
An advanced schedule for special plants would look something like this:
- At Planting: Granular fertilizer and granular supplements
- Week 1 After Planting: Skip
- Week 2 After Planting: Liquid supplements
- Week 3 After Planting: Liquid fertilizer
- Continue to alternate a week of liquid supplements and a week of liquid fertilizer until fruit set, then:
- At Fruit Set: Granular fertilizer and granular supplements
- Week 1 After Fruit Set: Skip
- Week 2 After Fruit Set: Liquid supplements
- Week 3 After Fruit Set: Liquid fertilizer and liquid supplements
- Continue applying liquid fertilizer and liquid supplements each week until the end of the growing season.
Any time I’m applying a lot of fertilizer and supplements, as in the example above, I cut back on the dilution strength of the liquids and the volume of the granular. The general idea is to give less, more often.
A Few Key Exceptions When You Fertilize Container Gardens
I distinguish between leafy annuals and woody perennials in my fertilization schedules.
Some woody perennial plants don’t appreciate the extra nutrients, and you can cause more harm than good by overdoing it with regular fertilization.
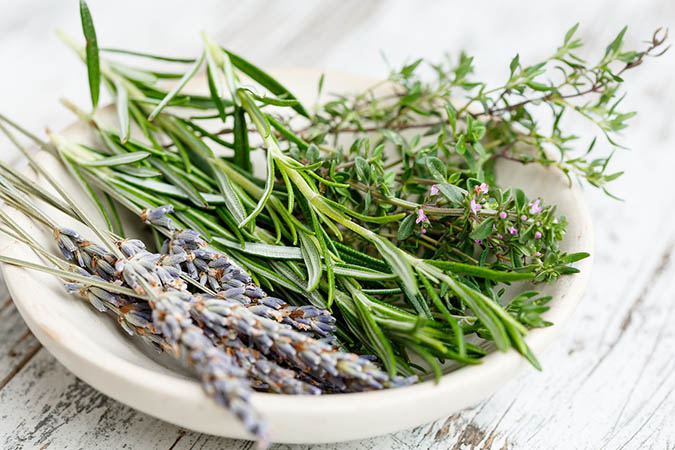
Woody herbs like rosemary and lavender are especially sensitive to this. I fertilize rosemary about half as often as I fertilize other plants, and I fertilize lavender rarely, if ever.
Blueberries benefit from special treatment in a container. They love seaweed, iron, and acidity. Watering with vinegar is beneficial here. Give your potted blueberries some extra love and they will pay you back with plenty of tasty berries.
You May Also Enjoy:
“6 Organic Nitrogen Fertilizers for Healthier Soil”
“Special Challenges to Managing NPK in the Organic Garden”
“Mycorrhizael Inoculant: A Powerful Solution to the Organic Gardener’s Catch-22”
When I’m growing tomatoes in a pot, as I said above, I go all out. I use everything in my arsenal to get the plant as productive as possible.
I normally don’t worry about burning plants with too much fertilizer, because I only use mild organic fertilizers and I dilute them well. In this case, however, I always keep a close eye on the leaf margins and tips to make sure they’re not going brown, which would indicate that I am overdoing it with the tomatoes.
Liquid Fertilizers
When you’re looking to fertilize container gardens with a liquid fertilizer, I think that you will get the best and safest results by selecting a simple, well-balanced, organic product.
Fish Emulsion
Fish emulsion is the best option I have found, no question.
It comes labeled with many different names like “Liquid Fish,” “Organic Fish Concentrate,” and just plain old “Fish.” As I understand it, fish emulsion is basically just a by-product of commercial fish processing—it’s the rest of the fish, liquefied in a blender.
Fish emulsion typically analyses at 5-1-1, N-P-K. So, it’s great for growing your plants large, and great for leafy green growth (lots of nitrogen). But, you’ll want to add a phosphorous source for vigorous root growth, budding, and fruiting. Or a potassium source for plants with general health and growth issues.
There are many blends available on the market that use fish emulsion as a base and incorporate other ingredients for a more well-balanced effect.
A good way to choose is to make a trip to a local organic garden center and ask them what they have available. Specify that you want single digit N-P-K concentrations, and specify organic. They should be able to help you make a good choice.
If you don’t have a good organic garden center nearby, Amazon may be your best bet. A simple search of “organic liquid fertilizer” yields many good results.
You May Also Enjoy:
“How to Make Fish Emulsion Fertilizer”
“A Simple Fertilizer From the Greek Gods (Fertilize with Beer and Milk)”
“Jump-Start Your Compost With These 5 Free, DIY Compost Activators”
My favorite solution for a liquid organic fertilizer is a locally made blend that includes fish emulsion, liquid seaweed, humic acid, molasses, fermentation extracts, magnesium chloride, iron sulfate, zinc chloride, and water. This product is labeled as 3 – 1.5 – 2, N-P-K. I have used this solution to fertilize container gardens with a huge variety of plants, with good success and no burning, ever.
Dilution
Image by PublicDomainPictures from Pixabay
Any product that you buy should have instructions for diluting. Follow the manufacturer’s instructions to dilute the concentrated fertilizer—never apply directly without diluting.
A common dilution rate is 1 ounce (2 Tablespoons) per gallon. If my label has worn off, or someone gave me a sample with no instructions, that is the dilution rate I normally use.
I tended bar when I was in college, so sometimes when I’m in a rush I trust my steady hand to pour an even 1 ounce without measuring. It’s better to keep some measuring spoons and a conversion chart on hand in the area where you will be mixing fertilizers. You can get cheap plastic measuring spoons from the dollar store. (When you smell the fish fertilizer, you’ll understand why you probably don’t want to use your regular kitchen measures for this task!)
Shake the liquid concentrate well before measuring out the desired amount—ingredients like molasses have a strong tendency to separate and settle on the bottom of the container. You want to make sure you remix the concentration each time you use it.
I add a little water to a watering can first, pour the measured concentrate into the watering can second, and then fill the watering can third.
You May Also Enjoy:
“Do You Use the ‘World’s Best Fertilizer’?”
“35+ Powerful, Inexpensive Organic Fertilizers You Can DIY”
“DIY Liquid Fertilizer: The Really Stinking Easy Way to Feed a Large Garden”
You should always stir the dilution well, so that each plant gets an equal dose when you fertilize container gardens. I use a bamboo stick to reach into the watering can, past the handle. I stir counterclockwise before reversing the direction and stirring again, this time clockwise, until a vortex occurs (a little water whirlwind).
Application
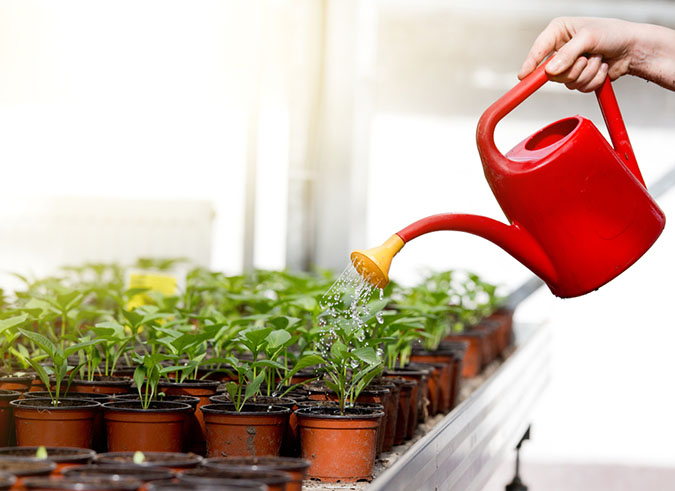
Image by PublicDomainPictures from Pixabay
The correct amount to apply per plant should be given by the manufacturer, either on the product’s label or on the manufacturer’s website.
If they do not supply this information, a rule of thumb I use to fertilize container gardens is to apply one ounce of diluted fertilizer solution per gallon of soil in the container.
So, a 1 gallon pot gets 1 ounce from the watering can. A 5 gallon pot gets 5 ounces, and so on.
For very small containers, I just give a quick splash. If I get liquid fertilizer on the plant’s leaves, I shake the leaf or rinse it off to get rid of standing drops of fertilizer.
You can also apply liquid fertilizers as a foliar spray, and your plants will probably love you for it. It does well when applied as a mist, but can hurt if it’s collected in puddles on the leaves. Apply it lightly, with a mister/sprayer, when the wind is low.
You May Also Enjoy:
“The #1 Way to Measure Soil Moisture”
“Make Peace With Your Poop (and Then Make Compost With It!)”
“5 Inexpensive, Simple Solutions For Small-Space Composting”
You should always apply liquid fertilizers to soil that has been moistened—but not saturated—with water, so that the fertilizer solution will distribute itself throughout the soil. If you apply liquid fertilizer to dry soil, it can absorb into one small area. If you apply liquid fertilizer to the saturated soil, it can drain out through the bottom of the container.
When I remember to, I water containers late in the day, on the day before they will get fertilized.
I’ve been told that the best time of day to apply fertilizer is very early in the morning when a plant is beginning its rhythmic growth cycle for the day. However, if you’re a late riser, any time is better than never.
Liquid Supplements
What defines a liquid fertilizer is that it has a significant concentration of three key macro nutrients required for plant growth and fertility—nitrogen (N), phosphorus (P), and potassium (K). These three macro nutrients are key to growing healthy plants, but there are several other things you can do to help your plants grow big and strong when you fertilize container gardens.
These supplemental products include other macronutrients, lesser-known micronutrients, beneficial trace minerals, beneficial fungi, natural enzymes, living microbes, and a whole slew of other goodies.
Seaweed
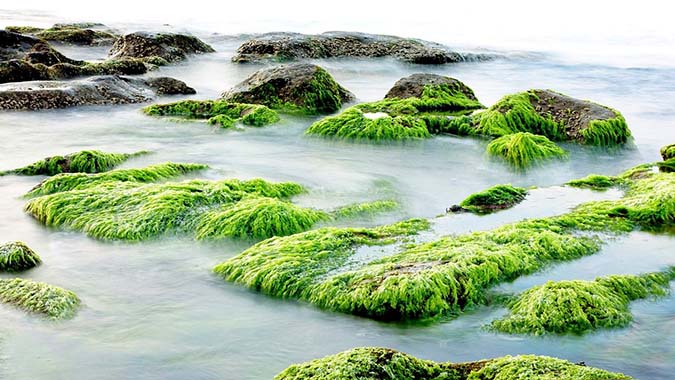
Seaweed is like magic for some plants.
It doesn’t have high concentrations of the three key macronutrients—Maxicrop’s popular seaweed product analyzes at 0-0-1. But seaweed is great for heat and drought resistance, and it helps with many common problems.
You May Also Enjoy:
If your plants are suffering from chlorosis, with yellow leaves and poor growth, seaweed can get them back to green and growing quickly (although you may be overwatering, so be sure to address the root problem).
Strawberries and spinach love seaweed.
pH Control
Some plants require a more acidic soil in order to thrive and fruit. You can use liquid supplements to manage the pH level of soil in a container. Seaweed with added iron is a great supplement for acid-loving plants. You can also acidify your regular water by adding a little vinegar to the watering can—you can safely use up to 1 cup of vinegar per gallon of water.
Aerobic Compost Tea
Using aerobic compost tea is a little bit like cheating. You take water that contains thriving colonies of microscopic life, and pour it onto your garden soil.
This is an especially effective tactic for containers, where the normal soil biology likely doesn’t exist yet.
You can inoculate the soil with many desirable microorganisms by applying aerobic compost tea. You can brew this miracle tonic yourself at home, or you might find an organic garden center nearby that offers it for sale by the gallon. If there is an active garden club in your area, ask around and find out if anyone else is sharing their brew or can show you how to make it yourself.
If you’re confused about what exactly compost tea is, read this: “Leachate, Worm Tea, and Aerobic Compost Tea–A Clarification.”
Any time you’re using a supplement or additive that has a living component, it’s important to pay attention to the water you’re using to dilute the additive.
Tap water has chemicals in it that are specifically chosen to kill microbial life, so it’s easy to torpedo your efforts by diluting aerobic compost tea with tap water. You will still likely get trace concentrations of seaweed, molasses, humate, and the other good ingredients that went into the tea while it was brewing, but you won’t get the beneficial microorganisms, and those are what you’re really looking for with this particular supplement.
For more information on this, see Leslie Parson’s article, “A Guide for Using Tap Water in Your Garden.”
Enzyme and Vitamin Solutions
There are some good products on the market that contain natural enzymes and vitamins that are organically manufactured by biological processes. I think this basically means that the products are bottled microbe poo.
I have used a few of these, and I feel like they do improve the size and vigor of treated plants. I would consider using these on stressed plants, or on plants that need to have an especially beautiful appearance, like flowers or edibles in a visible place.
Some examples are Vitazyme, AgriGro, and SUPERthrive.
Granular Fertilizers
Granular fertilizers are generally stronger and longer lasting than liquid fertilizers.
As always, a good rule of thumb is to stick with products that have single-digit concentrations of the three key macronutrients—nitrogen, phosphorous, and potassium. You’re still looking for something like 4-4-4, not 20-20-20 (N-P-K).
Ingredients
You will find granular fertilizers made from an assortment of different ingredients—mostly animal poop.
I have used packaged fertilizer products that were made from chicken poop, cow poop, turkey poop, rabbit poop . . . the list goes on. As with liquid fertilizers, a good course of action for a first-timer is to walk into a brick-and-mortar garden center and talk with the staff there about what is available and what meets your needs.
If you don’t have a good organic garden center within driving distance, check on Amazon. Shipping costs could be a factor—the smallest bags I’ve seen available are in the 5-6 pound range.
You May Also Enjoy:
“At-Home Soil Test Kits: How to Use Them . . . And Why You Should”
If you are a vegan, your options will be a little more limited. There are some good fertilizers available made from cottonseed meal, alfalfa meal, and some others. Search online or consult with your local experts, and you should be able to find a solution that works for you.
My favorite granular fertilizer is a local product that analyzes at 8-2-4 N-P-K. It is made from feather meal, turkey compost, sulfate of potash, and molasses. Most plants use the basic macronutrients at the ratio of 4:1:2, so it’s handy to have a good all-purpose fertilizer like this that can be used on everything from the lawn to flowers to the vegetable garden.
Application
Applying granular fertilizers is easy.
Because these fertilizers are stronger and last longer, you will probably only need to apply these once or twice over the course of a growing season.
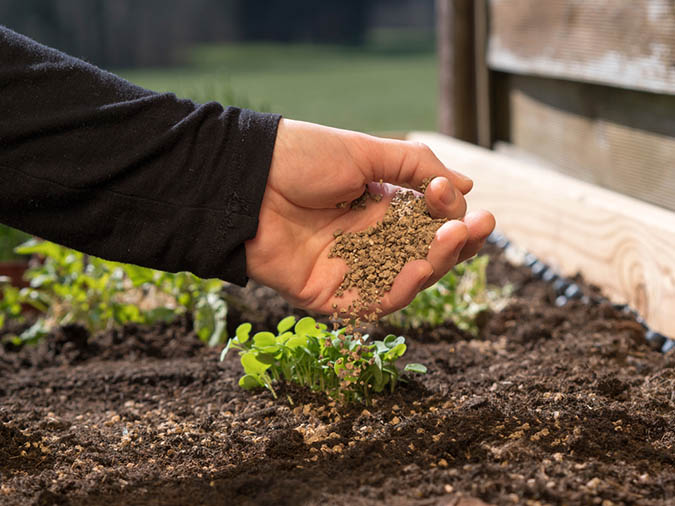
For the first application, at planting, I mix the recommended amount into the potting soil that I will use to fill my container.
Follow the manufacturer’s recommendation for how much to use. If no recommendation is given on the product packaging, I use one large handful for a 5-gallon container, and adjust proportionately for smaller or larger containers. In the bottom of the planting hole, I sprinkle another teaspoon or so of fertilizer, for immediate availability to the plant’s roots.
Be sure to mix the fertilizer well into the potting soil, so that it is evenly distributed throughout. I usually get two buckets (or trugs) side by side, and pass the soil/fertilizer mix back and forth between the two buckets, completely dumping the contents each time. After dumping the mixture back into the empty bucket 10 or 12 times, I can visually see when the fertilizer has been thoroughly mixed.
You May Also Enjoy:
“Aerobic Compost Tea, Worm Tea, and Leachate—A Clarification”
“5 Inexpensive, Simple Solutions For Small-Space Composting”
“Jump-Start Your Compost With These 5 Free, DIY Compost Activators”
Sometimes I will come back with a second helping of granular fertilizer, either at fruit set or when I notice that a plant’s growth has slowed down significantly.
For the second application, I don’t dig down into the soil—I don’t want to damage the existing root system. I evenly scatter the granular fertilizer over the top of the soil in the container. Then I “scratch” the fertilizer down into the top 1 or 2 inches of the soil. Sometimes I use a hand rake to scratch the fertilizer in, but I usually just use my fingertips.
After the fertilizer is scratched in, give the container a thorough watering to activate the fertilizer.
If the container is in an area where pests are a problem, cover the top of the soil with some sort of mulch after adding the second helping of granular fertilizer. Cats and dogs are very interested in organic fertilizers, and they will dig up your plant just as it is starting to fruit. If your pot is in a sitting area, flies and fruit flies are less likely to gather in the area if a thin layer of mulch separates the soil from the open air.
My favorite mulch to use is organic compost from the backyard pile. If I need the pot to look especially presentable, I will use a small, pea-sized stone instead. Expanded shale makes a great mulch and has a clean, neutral appearance.
Granular Supplements
In addition to the three key macronutrients, there are lots of beneficial soil amendments that you can mix in to your potting mix at planting time.
Mycorrhizal Fungi
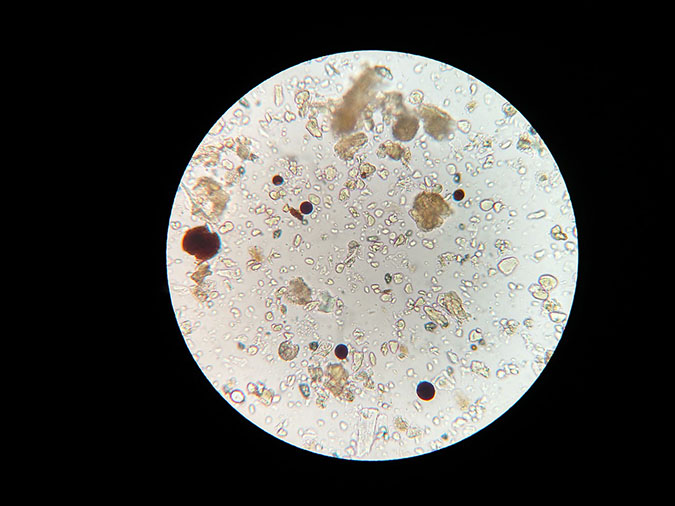
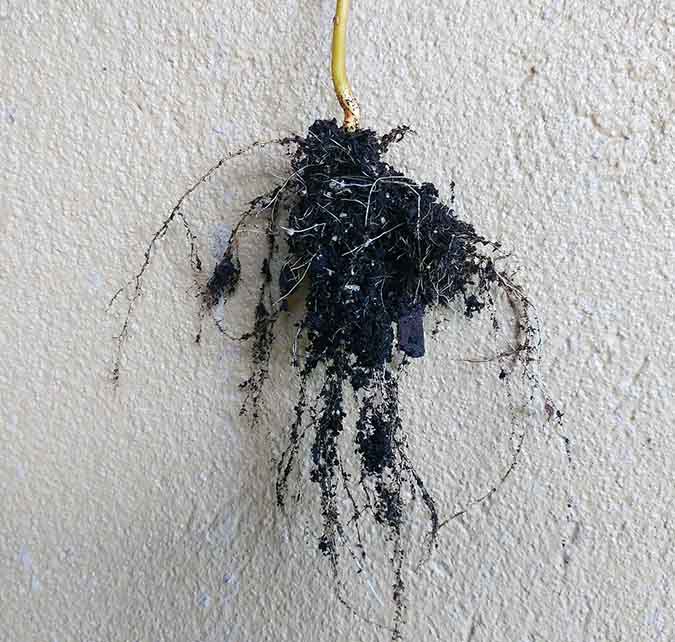
Mycorrhizae are fungi that have a symbiotic relationship with plant roots. The fungi form a web in the soil, tying in with the plant roots through a physical connection. As the fungus collects nutrients from the soil, it passes water and minerals up to the plant’s roots. In return, the plant passes sugars down to the fungi.
You May Also Enjoy:
Mycorrhizael Inoculant: A Powerful Solution to the Organic Gardener’s Catch-22
Mycorrhizae exist naturally in healthy soil in the ground everywhere, but not necessarily in potting soil. There are several products available from garden centers and online that allow you to inject these fungi into your potting soil. You can also get soluble mycorrhizae that can be watered into the soil.
Trace Minerals
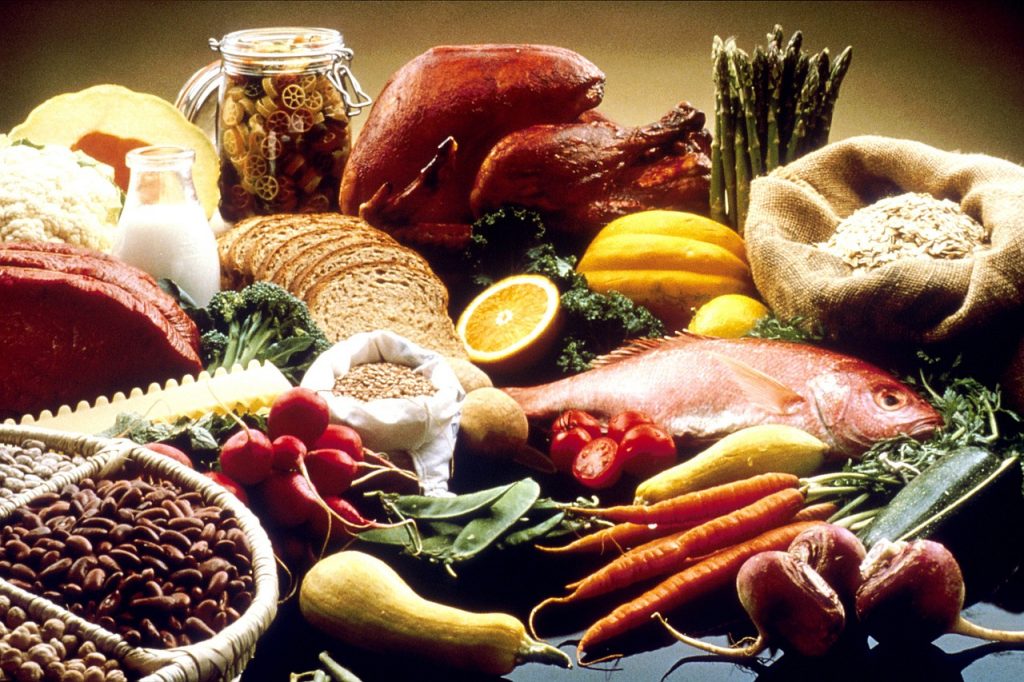
Trace minerals are part of a well-balanced diet for plants -Image by Welcome to all and thank you for your visit ! ツ from Pixabay
While N, P, and K are the three big nutrients required for plant growth, there are many other nutrients that contribute to a plant’s overall health.
A good way of looking at this is to compare a plant’s diet to a human’s diet—if a person ate nothing but eggs, kale, and carrots every day, they would eventually develop a nutrient deficiency. Those three foods are healthy, but alone they do not constitute a well-balanced diet.
To round out your plants’ diets when you fertilize container gardens, you can add mineral sand to the potting mix at planting time. I use a mineral sand product that includes decomposed granite sand, lava sand, granite sand, basalt, soft rock phosphate with colloidal clay, humate, greensand, and montmorillonite.
I hope the information in this article is more helpful than it is confusing. If you have specific questions that you want to ask, feel free to use the comments section below. There’s a whole community of people here who can help!
What Do You Think?
What’s your favorite way to fertilize container gardens? Do you have another fertilizing method or schedule you prefer? Let us know in the comments below!
_______________
This is an updated version of an article that was originally published in October 2015. The author may not currently be available to respond to comments, however we encourage our Community members to chime in to share their experiences and answer questions!
The Grow Network is a participant in the Amazon Services LLC Associates Program, an affiliate program designed to provide a means for our team to earn fees for recommending our favorite products! We may earn a small commission, at no additional cost to you, should you purchase an item after clicking one of our links. Thanks for supporting TGN!





COMMENTS(4)
What do you mean you watch the leaf margins of tomatoes?
I often take the water out of my fish tanks when cleaning them and use it to water my plants. Since I have anywhere from 3-6 tanks going at a time I get plenty of fertilizer. I raise my own tilapia, for my aquaponics system. Is there a set amouof time I should be leaving between watering with my fish water? I have just been using it whenever I clean the tanks.
I looked up fertilizers on Amazon. They have fish only, kelp only and a fish/kelp combo. Which would be best to get?
I am so glad my friend introduced me to the Grow Network. Thank you so much for the information you provide here.