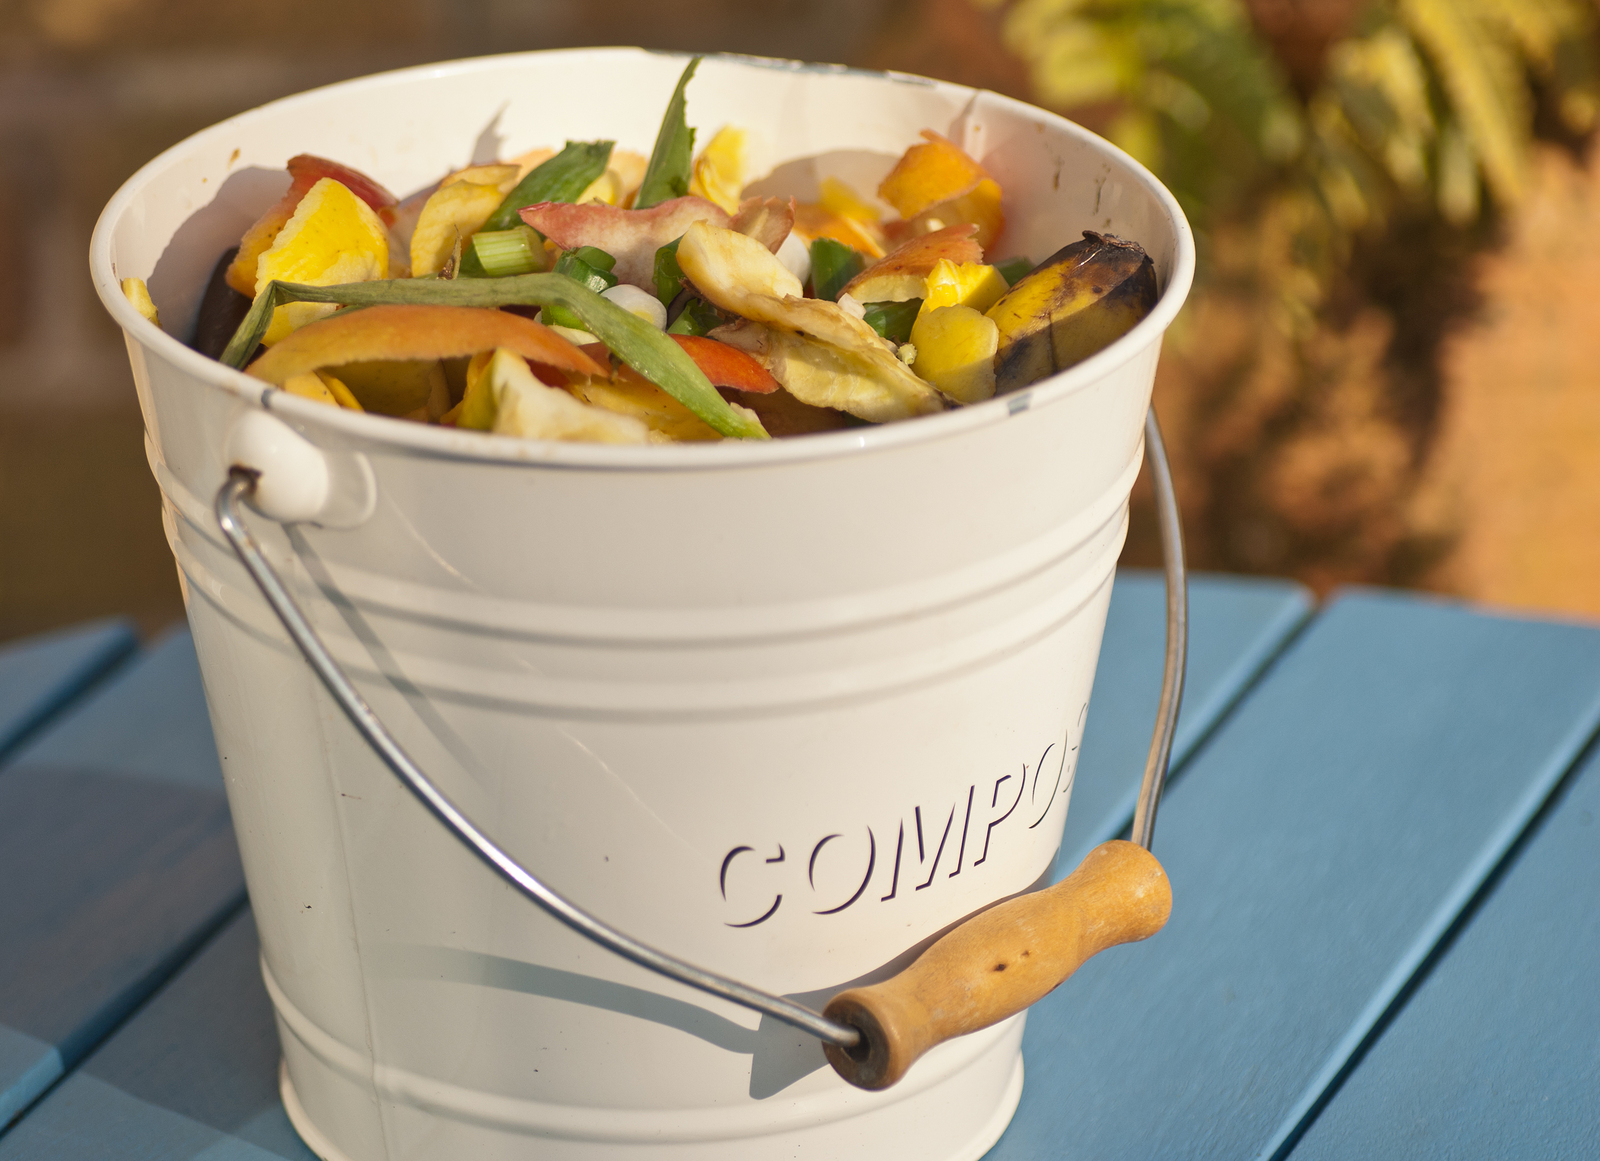
According to the EPA, 20 to 30 percent of what is thrown away should be composted. If you’re the type of person who hates to throw out kitchen scraps, but don’t have room for a compost pile in your small apartment, small-space vermiculture is for you!
What is vermiculture?
Vermiculture, or Vermicomposting is the breakdown of organic material by vermis, which is the Latin word for “Worms.” The worms take that waste and turn it into nutrient-rich “castings” or worm poo that helps build the soil. It is the most efficient way to compost most of your household waste.
Steps to your Vermicomposting happiness
Let’s bypass the trash collector and have your worms “eat” your garbage!
Make your worm bin
Start out with a cheap bin to get started. A $10 system works just as well. A 5-gallon bucket, large kitty litter bucket, or 16 in. X 24 in. X 8 in. (or 10-gallon) plastic bin will work just fine.
Next prepare the bedding
Shred about 50 sheets of newspaper into 1/2 in. to 1 in. strips. Avoid color print. It is toxic to worms.
Place the shredded newspaper into the bin. Add water to the newspaper until the bedding feels moist like a damp sponge. Add more dry strips if it gets too wet.
Sprinkle two to four cups of potting soil or soil from your yard into the bin. This introduces the beneficial microorganisms.
Get Your worms
Red Wigglers, or Eisenia fetida, are the worms you want for your worm bin. You don’t want Earthworms because they are large soil movers, and don’t do well in worm bins.
Get worms from a local source (if possible), because they are acclimatized to conditions in your area. Ask around, look on Craigslist, aquaponics or hydroponic stores, or ask other vermicomposters in your area.
How many worms do you need?
Say you bought a pound of worms. A pound of worms will eat half to their full eight every day. They are the best recyclers in the world! Think about how much waste you have.
Feed your new friends
Worms are vegan, but they can eat quite a bit. You’ll want to feed them a balanced diet, not just coffee grounds! As your bin gets going, you’ll feed those worms about half-a-pound to a pound of food in 24 hours.
Fun Fact: The worms don’t actually eat the scraps. They eat the bacteria that is breaking down the food scraps.
What to feed?
Feed your worms veggie and fruit scraps, crushed eggshells, coffee grounds, tea and tea bags (the ones that aren’t shiny), such as peels, rinds, cores, etc. Cut or break the food up into smaller pieces. If you run it through a blender, that would be even better! For instance, juicing pulp is fantastic!
What not to feed?
Limit or eliminate citrus fruits and onion peels in your worm bin. Also, do not add meats, bones, oils or dairy products.
For more on what NOT to feed your worm farm, check out 5 Things You Should Never Feed Worms
How to feed your worms?
- Feed your 1 lbs. of worms about three times their weight each week. So, for one pound of worms, you’ll feed 3-lbs of food each week, or slightly less than half-a-pound.
- Bury the food in the bin.
- Lift up the bedding. Add the food scraps. Then, cover the food with the bedding again.
Check the bin every week to make sure the worms are eating all of the food. Adjust the amount accordingly.
Harvesting the black gold
There are many methods to harvest the worm castings. These two techniques work great.
- Try a melon. Place a piece of melon in one area of your bin. The worms really love muskmelon or watermelon, because they don’t get it very often. Put that little piece of melon in the corner of the bin, and the worms will herd over there. Then, scoop out the castings from the other side of the bin.
- Vertical migration system. The whole point of a vertical migration system is to let a layer finish out and put a new layer on top with new paper and new food. The worms migrate up into a new layer where the food is. They don’t want to live in the lower layers that is filled with their poop. Essentially the system separates the casting for you, but in a much slower way. The lower bins still may have a few worms, but you can hand pick them. It’s not bad to get worms in your finished compost either. They’re going to end up living in the soil in your garden.
Tips for success
- Place a full sheet of dry newspaper on top of the bedding. This will help maintain the moisture in the bin. It also keeps odor problems in the bin and prevents fruit flies.
- If you find fruit flies or the bin is too wet, replace that top layer of dry newspaper.
- Cover your bin and choose a place for your worms. Worms like it dark and between 55°F and 75°F. Under a sink, in a closet, or wherever is convenient for you, so you remember to feed and check on them.
- Castings are high in nutrients and micronutrients, so make worm tea in a 5-gallon bucket. Or add it to your potted plants for a healthy boost.
- We don’t always produce a pound of kitchen scraps in a day, or we’re on vacation or busy. You don’t need to micromanage your worms. You don’t have to feed them a pound of food every day.
- Sometimes we produce more than a pound of kitchen scraps, or your worms aren’t eating as fast. If this happens, simply put the scraps in a container or baggie and put that in the refrigerator until it’s time for a feeding.
- Worms don’t like light, so be sure to keep your bin in a quiet out-of-the-way place. They like warm, dark places.
- If your bedding dries up, spray it with a bit of water. Fluff the bedding once-a-week to give the worms some air.
- If you live in a cold climate and have your bin outside, be sure to bring it inside.
- Rotting food will produce a strong odor. Stop adding food until your worms have caught up. Adding air by stirring the contents will help.
- If the worms are crawling out of the bedding or onto the sides or lid, they may need more air, the bedding is too wet, or the bin is too acidic. Did you put too many orange peels in there?
Need other ways to compost in a small space? Check out 5 Cheap and Easy Solutions For Small-Space Composting
Now we want to hear your wormy stories! Do you practice small-space vermiculture? Tell us in the comment below.
 Click here to get your FREE pass to The Grow Networks FREE Resource Library!
The Grow Network is a participant in the Amazon Services LLC Associates Program, an affiliate program designed to provide a means for our team to earn fees for recommending our favorite products! We may earn a small commission, at no additional cost to you, should you purchase an item after clicking one of our links. Thanks for supporting TGN!
Resources:
Marjory Wildcraft is the founder of The Grow Network, which is a community of people focused on modern self-sufficient living. She has been featured by National Geographic as an expert in off-grid living, she hosted the Mother Earth News Online Homesteading Summit, and she is listed in Who’s Who in America for having inspired hundreds of thousands of backyard gardens. Marjory was the focus of an article that won Reuter’s Food Sustainability Media Award, and she recently authored The Grow System: The Essential Guide to Modern Self-Sufficient Living—From Growing Food to Making Medicine.


COMMENTS(3)
Really helpful information for my first foray into indoor vermiculture, thank you. I’ve watched some videos elsewhere, but it’s nice to have written tips available at my fingertips instead of having to spend time rewatching videos when set-up time comes. I’m SO excited!
Any thoughts about using an old cooler vs. a 10-gallon Rubbemaid-type container with a cover? I’ll keep the worms in our heated basement, so I’m not worried about the temperature (even though it’s winter in Minnesota now).
I’ve also seen people drill holes near the bottom of a container to create a spigot for draining “liquid gold.” Perhaps that’s helpful for worm-bin maintenance in general? Thank you again!
I have a tip; and I may not be an expert, but here goes.
1. Worms have 5 hearts, so how can you not love them?
2. Worms love the dark and are in fear when there is light; it is smart to keep them in the dark.
3. Worms breed on the surface; it is prudent to create a surface that has the following:
3a. DARK
3b. Moist, so that they can breath, and air, I use 30 eggs cartons above and spray with water to keep moist every evening.
3c. I believe that lots of surface food; would signal them to reproduce as there is an abundance of food. (guessing, and searching for scraps that inspire and don’t smell). In any case, if too much food the complications could kill all your worms, If concerned, check smell, and feel.
3d. If your worm bin smells, it is time to remove worms, and create a fresh home. A smelly bin is a strong indication that something is wrong.
3e. If your worm bin is too wet the worms will drown in less than one hour, if your bedding is too dry your worms will die in less than 5 minutes!!! So It is recommended to leave your worms alone for a week and just mix the bedding weekly. HOWEVER, when first learning, I recommend
mixing a quarter of your bin daily with your bare hands. Until your an expert at “feeling” the
correct moisture level, If your moisture level is correct your bin won’t smell, it will smell if your nose is up close; like a forest if your on the right track. I don’t like doing the squeeze test to my bin as I don’t want to squeeze my worms. But you will get to know the right moisture by the weight, and the feel of the wetness on your skin when handling the bedding. Of course during this time (learning) feed HALF the amount of scraps as much as recommended. Don’t worry they will be just fine; and have been able to live off of bedding alone for quite some time.
3f. Moisture is key.
4. Sugar, sweets, molasses, might inspire microbes in a garden; HOWEVER,
you should try to add a potato/starch and any of the above to a bucket of water.
and you will discover just how little of sweets it takes to turn starch into ACID and you will have a PH issue (This is my own logic, I haven’t proved it) but I hope people keep this in mind and report their findings. As for me, I don’t add sugar or starch, and when I look at my worms at night I can see that they are MOVING quickly, they are MOIST, and they have a nice healthy color and look strong.
Summary
“Worms breed on the surface”
So if you want your worms to reproduce you want to have lots of surface area,
that feels safe as it is dark, moist, and there is an abundance of food but not so much scraps that the bedding becomes toxic.
If toxic, I made a strainer with 3/16 square holes attached to a wooden frame and I
shake a couple of handfuls of the bedding in this hand made strainer and castings fall out the bottom, Then I dump the remaining on the table in a pile under the sun and pick the bedding away until all that is left is a ball of worms free of bad bedding and or centipedes and other issues. This is what I do if there is an issue.
Lastly, when starting, think of your worms as your pets and make your focus on the worms and not the compost, this way, you won’t be tempted to overfeed, and you will learn what is their perfect environment that makes them feel safe and happy.
It is also important to start with bins with large surface areas.
About me
I have four ordinary rubber maid bins in my living room in a dark corner and they all have a
30 egg cardboard carton above that gives them moisture, air and darkness.
I have no drainage hole, and I have no vent holes, and no lid, (AS I DON’T HAVE PETS)
and it is indoors.
When I started my bins, I did not add a handful of dirt from the outside garden as that would
introduce bugs that I may not want, So what I did was take dirt from my garden outside and soak that soil in rain/pond water and then strain that water through a cloth, as my starter
culture for the bedding. (Again, I am just guessing, and it works for me)
Hope this helps the indoor worm farmers.
The worms will not climb out if your environment is perfect, and if you don’t have a lid, you will make sure that the environment is perfect.