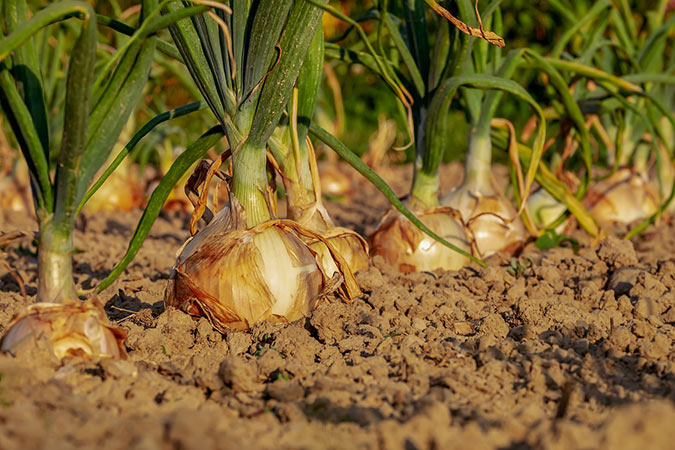
Learn how to grow onions at home for a year-round supply of this kitchen staple, plus how to cure and store your harvest.
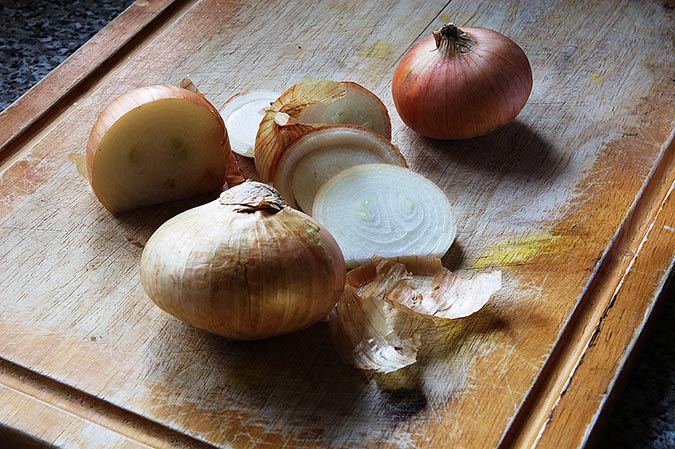
Image by Positive_Images from Pixabay
How to Grow Onions to Eat for a Year
Onions are a staple food in our kitchen. Depending on what we’ve got cooking, we use between 2-5 lbs. of some kind of onion every week. Since we grow most of our food on our homestead, this means we’ve had to master how to grow onions.
Just about any growing guide will tell you that onions are easy to grow.
And they are. You can start them from seed, plants, bulbs, or even food scraps (as Marjory shows you in the following link).
Read More: “The Simple Tricks to Regrow Onions”
Onion plants will survive even if you forget to water them through droughts. Leave them in the ground over winter. Or stick them in just about any kind of soil.
Now, I said “survive” and not “thrive,” so I wouldn’t recommend these strategies if you actually want large yields of onions to eat. We’ll dig into the details of how to grow onions in a minute. But first, let’s take a look at the varieties of onions.
Onion Growing Time: Onion Varieties
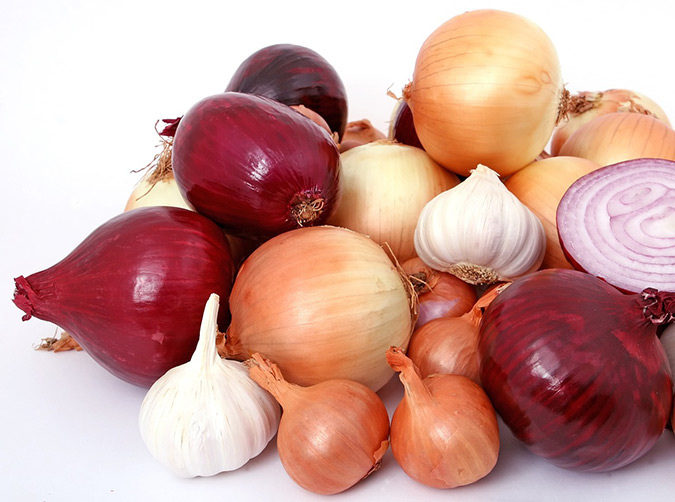
Image by Shutterbug75 from Pixabay
To most people, the word “onion” brings to mind those dried balls of make-you-cry-when-cut goodness you find at the grocery store. Yep, those are onions.
They are storage-type onions and are the most common variety available to consumers. They also come in two flavors—sweet and cooking.
Sweet onions include those famous Vidalias (which are simply sweet onions specifically grown in the Vidalia region of Georgia). These varieties contain a lot more natural sugars. They can even taste a bit like dessert if you caramelize them in your cast iron pan with butter and a splash of good balsamic vinegar.
You May Also Enjoy:
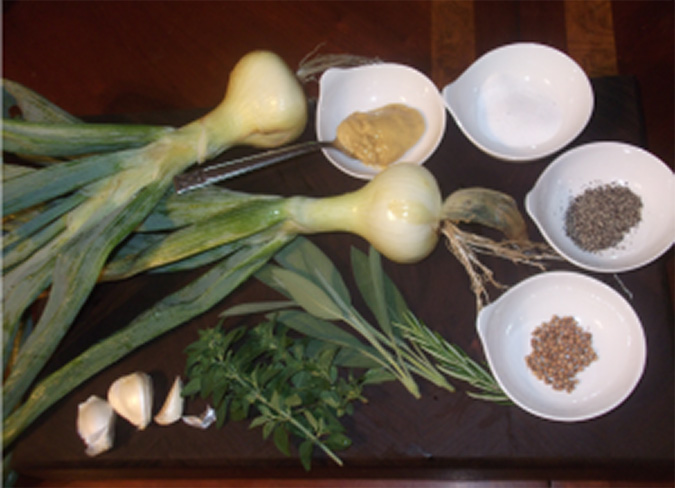
If you cook much, you probably also immediately thought of green onions or scallions. Those grocery store favorites are actually a group of onions called “bunching onions.” These are grown specifically for their lack of ability to produce large bulbs.
Experiment to Find Your Favorites
Beyond those basics, there’s a whole world of often-unexplored onion types available to the home grower.
- Onions come in a host of shapes, ranging from bulbless to torpedo to round to doughnut shaped.
- They can range in size from thin slivers of grass to cantaloupe-size onion bombs.
- Some can be cured and stored, and others are best eaten fresh from the garden or within two weeks of harvest.
- There are onions that can be grown as perennials and harvested multiple times per year. These include multiplier onions and Egyptian walking onions.
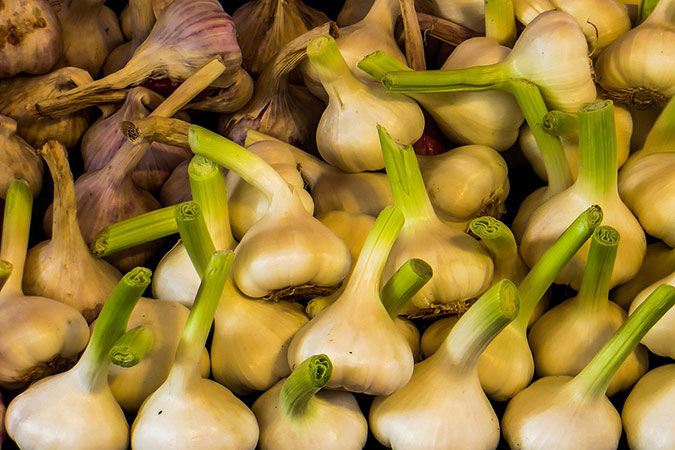
- You can also branch out into other members of the Allium family. Try leeks, shallots, common chives, garlic chives, wild onions, and garlic to add bite and health benefits to your meals.
To read more about the history of onions and take a closer look at some of the lesser-known varieties, check out the following post.
Read More: “Unusual Onions—The Lowdown on Some Forgotten Members of the ‘Stinky Rose’ Family”
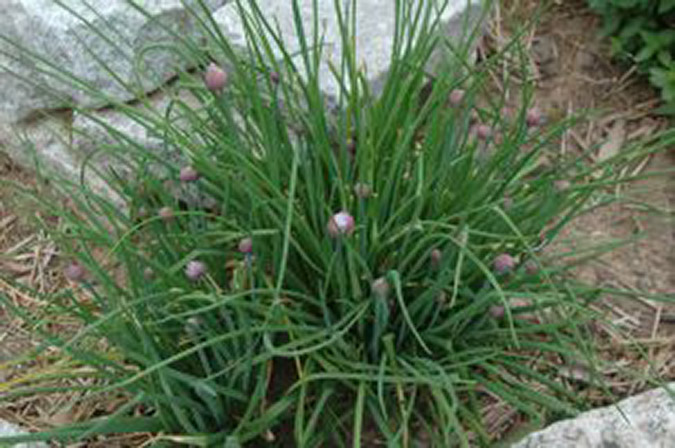
Onions and all their family members are so good for you, plus they make simple meals taste extraordinary. Anyone with a sunny window ought to be growing chives. Those with a small plot of land should be growing onions for bulbs and greens.
And you can start now with just a little bit of know-how.
How to Grow Onions: The Basics
Get Them in the Ground Early
Here’s the first thing to know about growing onions: They like an early start.
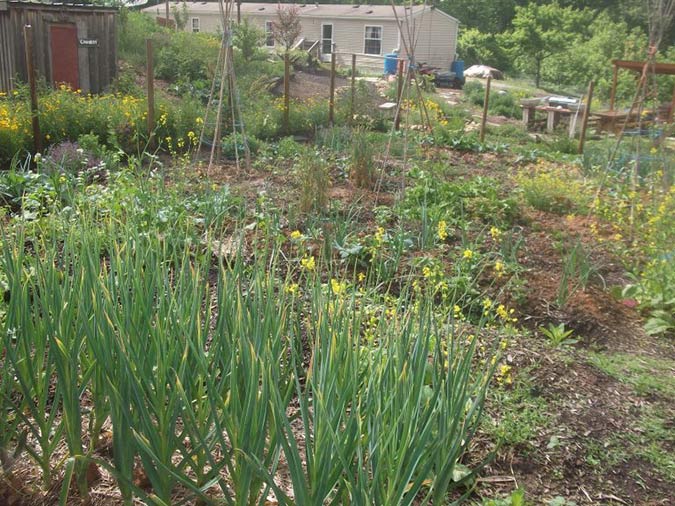
In my area of North Carolina, USDA Plant Hardiness Zone 7a, I’ll be putting mine in the garden by the end of February. Since I start mine from seed at home, I start them in seed trays under grow lights. I then move them to the greenhouse at least 8-10 weeks before transplanting.
Onions will do most of their green leaf growing while the days are short and before temperatures get too warm.
Each leaf of top growth will produce one ring of the onion. Larger leaves produce larger bulbs.
I’ve also been told that the perfect onion will have 13 lush green strands, but so far I’ve only been able to grow 12-leaf onions in my area.
Hurry Up and Wait
As the summer solstice approaches, and with it come longer days and warmer temperatures, onions will start to set bulbs.
When they begin putting energy into their bulbs, they won’t grow those greens anymore. That means that if you only have a few spindly leaves in late May, then you probably won’t get very impressive onion bulb yields. However, those underperforming onions do make great “spring” onions, so go ahead and dig them up and chop them into your salad.
Pick Your Planting Preference
Now, don’t worry—if you missed your seed-starting window, you can also buy onion plants. Onion plants are usually pencil thick and ready to transplant directly into the ground. They are usually sold in bunches of 50 and cost around $11-$15 a bunch for heirloom varieties from specialty growers.
You can also find onion plants at country produce stores for less, but these are almost always hybrid varieties.
Some people also grow onions from dried bulbs called “sets.” Onion sets usually only cost a few dollars for a bag of 50. You can pick these up at just about any hardware or garden supply store seasonally. You can also often find them loose and sold by the pound at country produce markets.
Varieties are limited on onion sets. Additionally, sets often produce smaller onions than plants of the same variety. If you are trying to maximize bulb size, then choose plants rather than sets.
Sets will usually get you small- to medium-size storage onions, so you may need to grow more sets than plants to get the same yields as plants in pounds.
Select the Right Day-Length Varieties
Before you buy seeds, sets, or plants, the other thing you really need to know about onions—particularly bulbing onions—is how many hours of daylight they need to set bulbs. Bulbing onions are classified as long-, short-, or intermediate–day varieties.
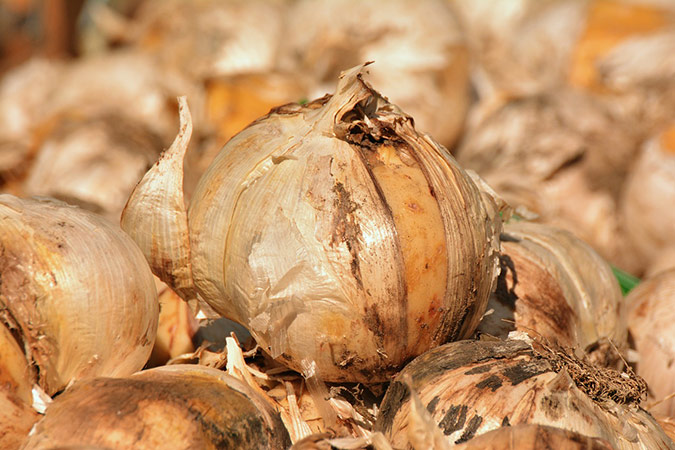
Image by congerdesign from Pixabay
- Long-day varieties will need 14-16 hours of daylight to set bulbs and only grow well in northern areas with cooler summers and longer days.
- Short-day onions will only need 10-12 hours of daylight and tend to be selected to grow better in areas with hotter weather.
- Intermediate-day onions will need 13-15 hours.
If you live in Florida and plant a long-day variety, at best, you’ll end up with some darn fine scallions from long-day seeds. More likely, though, your long-day onion plants will bolt at the first sign of heat and you’ll be eating flower heads in your salads.
Choose Your Fertility Strategy
Onions like to grow in high-quality vegetable garden soil with good drainage and a pH between 6.2-6.8. In good soil, they will grow surprisingly deep and expansive root systems that will help regulate moisture and seek appropriate nutrients.
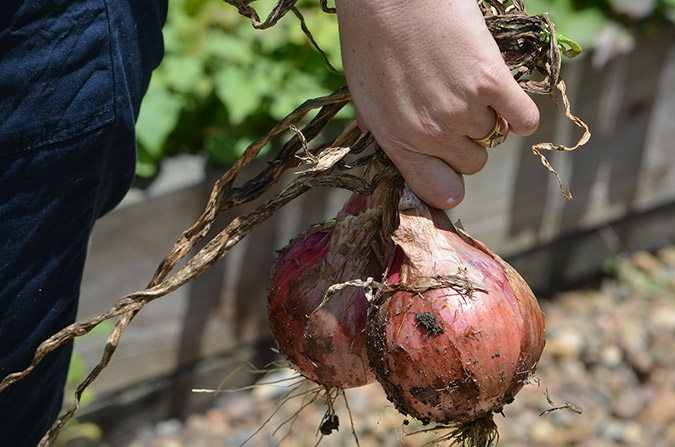
Image by Mark Valencia from Pixabay
For softball-size onions, you’ll need to give them a kick-start by using a fertilizer that is higher in phosphorous than nitrogen and potassium. Try a 10-20-10 bag of store-bought fertilizer. When using 10-20-10 fertilizer, it is recommended to make a 4-inch trench between your onion rows and apply fertilizer in the trench.
You will also need to fertilize every 2-3 weeks with either 21-0-0 or 15.5-0-0 fertilizer as the tops are growing to ensure bigger bulbs later.
You can apply new fertilizer to your trench. See here for more specific details.
Fertilize the Homegrown Way
Personally, though, I don’t buy fertilizer. Instead:
- I prepare my onion beds with about 3 in. of homemade compost gently incorporated into my existing garden soil.
- When I plant my onions, I sprinkle roughly one teaspoon of worm castings around the plant about 2 in. from the base.
- I also spread a light coating of wood ash on the soil between my plants (so light you can still see the soil underneath).
- I then water my plants every 2-3 days (unless we get sufficient rain). Water from my duck pond or compost tea do the trick for continuous fertilization.
If you want more info on homemade fertility, check out some of our posts on worm castings and compost tea.
You May Also Enjoy:
“Aerobic Compost Tea, Worm Tea, and Leachate—A Clarification”
Stick to a Planting Plan
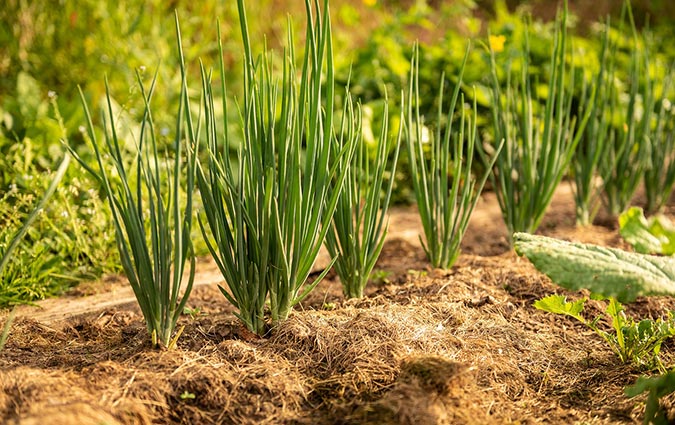
Image by Andreas Göllner from Pixabay
Once you’ve decided on your fertility plan, the next step is to plant. Those pencil-thin onion plants should be planted no more than 1 in. deep in the soil. These will start to set roots very quickly.
Keep a close eye on them until they are deeply rooted enough that they stand erect on their own, ensuring that they don’t get knocked over by wind or critters.
Onion sets can be planted a little deeper because they take longer to grow roots and will sometimes swell out of the soil during heavy rains if they haven’t set roots yet. I plant mine about 1.5 in. under soil and then cover the soil with an inch of very loose straw.
Space Out Those Rows
One of the big debates in onion planting is how to space them in beds and rows. Conventional growers tend to space them about 4 in. apart on 1 ft. rows. This effectively means you are planting 3 per square foot. It makes weeding with a hoe easy and works well for soil with low organic matter.
Other methods recommend planting bulbing onions on 4 in. to 6 in. centers or planting about 4-12 onions every square foot. For scallions, plant at a rate of about 16 onions per square foot.
I think the reason for all the confusion on plant spacing is that we are all growing different varieties in different conditions with various expectations for bulb size. What you really need to know is that onions can’t stand competition. That means, depending on the variety you choose, you need enough space so that your onions won’t grow into each other.
You also need to be able to fit your hand in between and weed around your onions often. But you don’t want too much space between plants, or weeds will move in and take over.
Personally, for my storage onions, I am looking for bulbs between 3.5 and 4 in. in diameter.
You May Also Enjoy:
11 Irrigation Techniques for a Happy Garden
For mass plantings, because I have big, farm-girl hands, I like to plant them on roughly 5 in. centers so I can fit my hands between my nearly full-size onions without breaking my green tops. I start planting from the center of my 4 ft. wide beds and leave a few extra inches around the edges of the beds empty. That area tends to dry out faster, and my onions just don’t grow as well on the outer edges of the bed.
For scallions, I go for about 2 in. centers, and for leeks, garlic, and torpedo onions, I plant on 3 in. centers.
Soil quality matters for spacing, too. The first year I started my garden at our current homestead, I knew I wasn’t offering my onions the most perfect growing environment, so I gave them a little more space than I do now. This made for more weed pressure, so I mulched with straw several times during the growing season to help cut down on weeding.
Interplant to Discourage Pests
Alliums are also great for interplanting with your other crops as a pest deterrent. Since spring-grown cabbages and onions go in the ground at about the same time in my area, I like to plant onions at the corners of my cabbage plants. This seems to cut down on cabbage moth visits to my Early Jersey Wakefields.
Make sure to give the cabbage plenty of room, though, or it will quickly overshadow your onions.
Mind Your Maintenance
Once you get your onions in the ground, they will need to be watered and weeded regularly for best results. Onions don’t like to be soaked or flooded.
If you live in a really wet area, you might want to mulch around your onions with an inch of fresh, double-shred hardwood. This also works great if you live in dry areas.
Image by Jan Mateboer from Pixabay
Keep in mind that when you water, you will need to make sure it passes through your mulch layer and soaks several inches into the ground to be beneficial.
In my area, onion tops grow quite fast from about mid-March through mid-May. If you are not seeing a whole lot of top growth during that time, you may need to add more nitrogen either with an infusion of compost tea or by using additional fertilizer. From mid-May and after bulbs start forming, avoid adding nitrogen to your onion beds, as this can cause issues with bulbing.
Amend to Maximize Growth
If your onions have lots of good top growth but don’t seem to be bulbing up well, you can incorporate some bonemeal into the surrounding soil. Follow the application instructions on the bag for best results.
However, be careful not to disturb the roots of your onion plants as you apply. If you mulched around your plants, you can just push back the mulch and apply underneath your mulch layer. Then, push the mulch back in place.
How to Grow Onions: Harvesting, Curing, and Storing
Harvesting Onions
Now for the fun part! After all your diligent care, it’s about time to harvest your onions.
When harvesting onions for tops, like scallions, those are generally sweetest and most tender when the tops are around 6-8 in. tall. But if you want more meaty tang, you can let them grow a little longer.
If you only plan to use the greens, you can cut the tops and leave the whitish parts and roots in the ground, and then let the greens grow back. For torpedo-type onions, as soon as the partial bulb forms, you can harvest as needed for fresh use. Just make sure your torpedoes are all out of the ground before the top growth dies back.
As your storage-type bulbs begin to form, they will draw energy from those green leaves you grew so carefully in early spring. When those tops begin to fold over and yellow, that means the energy has transferred from the tops to the bulbs. As soon as the tops start dying, your onion will also become more susceptible to pests. Root eaters in the soil, like wireworms, are of particular concern.
Some people will wait until most of the leaves have yellowed, but I normally harvest when just a few tips are yellow so that I don’t have any pest-related losses.
You May Also Enjoy:
Our 11 Favorite Gardening and Homesteading Tools
3 Ways to Preserve Food for Long-Term Storage
The 5 Minute Prepper #15: Make Freezing Part of Your Food Storage
For best drying results, let the soil dry out for a day or two before harvesting. In good soil, those onion roots get pretty deep. I like to use my hand hoe/rake combo to harvest because the hoe works well to loosen the soil around the onion, and then I use my hands to do the detail work of getting the onion out of the ground. After that, I use the rake side to scrape the soil off the roots.
This is the tool I use. It’s incredible for bed preparation and harvesting.
Curing Onions
Personally, I only dry my best onions. I cook up the rest within a couple weeks of harvesting. Onions that don’t grow to their full size potential just don’t seem to store as well, even if they don’t have any obvious defects or show signs of insect damage.
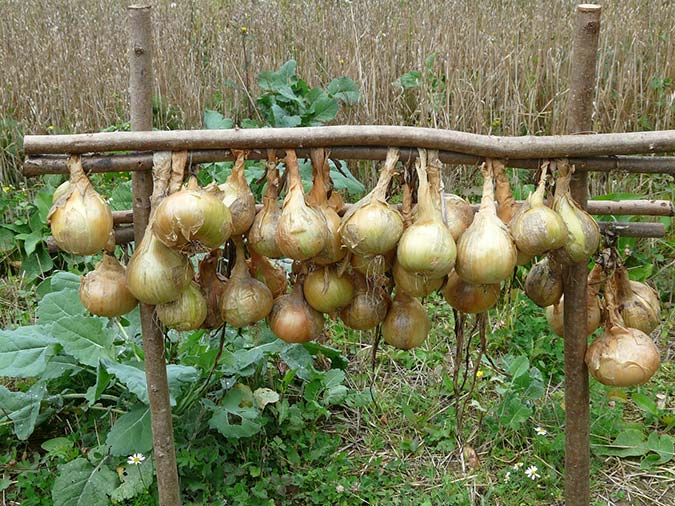
Image by Hans Braxmeier from Pixabay
The key to curing onions is good airflow and a dry environment. You can dry them on a tabletop as long as you flip them daily to make sure they dry evenly. Or you can just clip them to a clothesline in any covered area that is not too humid.
I installed a clothesline on my porch that I use for drying onions, garlic, and herbs. Not only is it convenient, but it makes for a beautiful, rustic scene and an aromatic spot in which to seek shade in mid-summer.
Storing Onions
Depending on your conditions, it may take 2-3 weeks to cure onions. When the tops are completely dry, you can cut them down to about 1 in. and trim off the roots. You can also leave your dried tops on and make onion braids for storage.
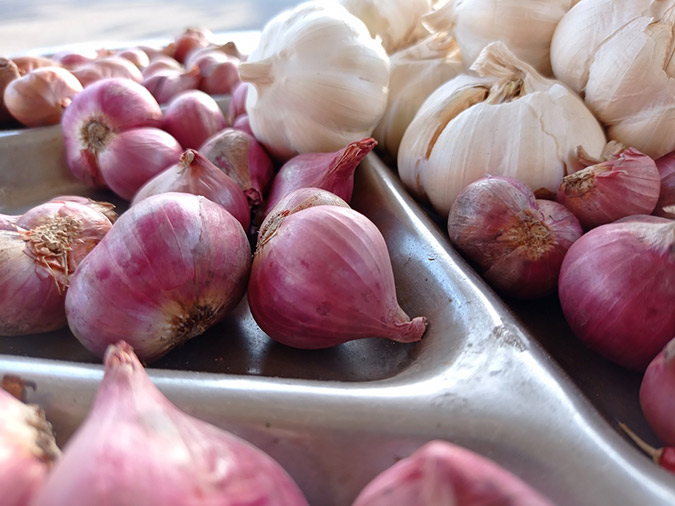
Image by Jelly Shaputra from Pixabay
Personally, I like to use my collection of old grocery store onion bags to store my homegrown onions. You can then hang those bags on a rope in a basement or food cellar. Or simply store in whatever other dark, cool, somewhat humid space you use for winter food storage.
Onions seem to know when it is time to grow. So I find that around this time of year, my stored onions start sending up more green leaf shoots. This means they won’t store much longer.
Luckily, though, this is also the time that my chives start coming up in the garden. So I use up my stored onions quickly and start harvesting chives. Later, I eat my scallions to hold me over until my next round of storing onions is ready.
What Do You Think?
By now, I hope I’ve driven home the point that learning how to grow onions offers great rewards! If you have any tips and tricks you’ve learned that can help the rest of us, I’d love to hear what works for you.
_______________________________
This is an updated version of an article that was originally published on February 28, 2018. The author may not currently be available to respond to comments; however, we encourage our Community members to chime in to share their experiences and answer questions!
The Grow Network is a participant in the Amazon Services LLC Associates Program, an affiliate program designed to provide a means for our team to earn fees for recommending our favorite products! We may earn a small commission, at no additional cost to you, should you purchase an item after clicking one of our links. Thanks for supporting TGN!

Tasha Greer is a regular contributor to The Grow Network and has cowritten several e-books with Marjory Wildcraft. The author of “Grow Your Own Spices” (December 2020), she also blogs for MorningChores.com and Mother Earth News. For more tips on homesteading and herb and spice gardening, follow Tasha at Simplestead.com.



COMMENTS(4)
Lots of detailed information. Thanks! I’ve got some onions I’m about to put into the ground. This article was just in time. 🙂
Scott – Good luck with the onions! I hope you’ll report back and let us know how your onion growing season goes! Tasha
I have wild onions in my yard. Are they good to domesticate?
I haven’t tried domesticating wild onions. But I do leave them wherever they grow on our property and harvest them from time to time. I would imagine you could dig them up and put them where you wanted them and get good results. I have done this with ramps (wild leeks) and they grew pretty well in a cultivated garden. We’d love to hear how it goes if you try it!