When you think of “easy raised beds,” you probably think of using pressure-treated wood and a miter saw. That’s the way I used to make my garden beds in spring. A hurried trip to Home Depot or Lowe’s, then a few hours of measuring and cutting and nailing and placing beds. It’s fun, and it looks cool when you’re done.
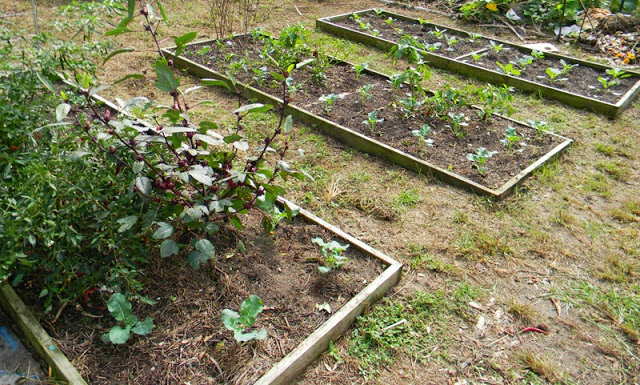
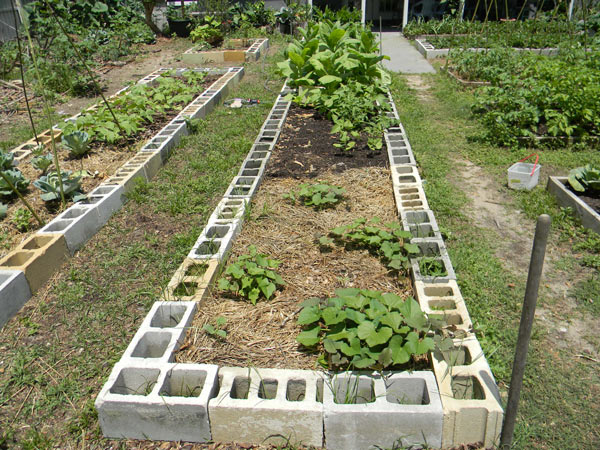
But then people tell you, “Wait! Pressure-treated lumber is bad for you!” So you start looking around and you find a good supply of cinder blocks. Hey, they may not look classy, but why not? They’ll last forever!
Or maybe the cinder-block raised beds look too ugly for you. Then you use solid blocks to make it look nice:
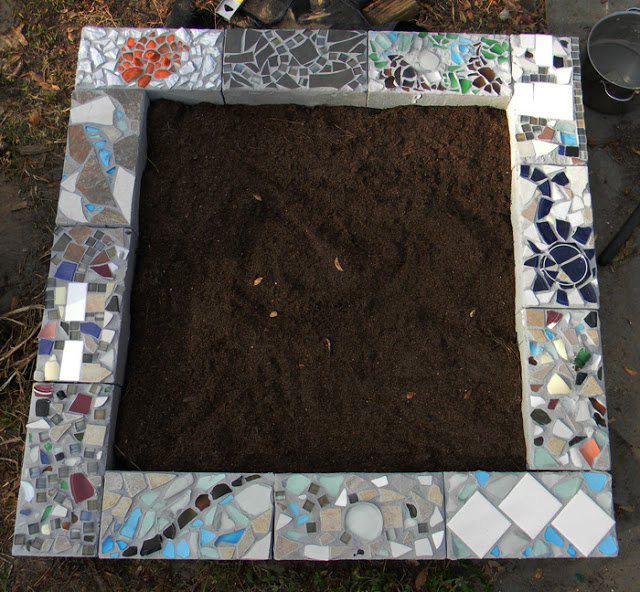
Or you go really crazy and mosaic the top!
That looks awesome—but it takes a long time.
And hauling cinder blocks is really a pain in the neck, as is leveling the ground so they don’t go all tumbly-bumbly on you.
And then someone says, “Don’t you know cinder blocks can leach toxins into the soil?”
Wait—what? Do they? Or just alkalinity? Oh, no!
So you say, “Okay, I’m going with cedar next time!”
And you take a trip to the store and discover that buying cedar for your garden beds is roughly equivalent to burning stacks of $100 bills to keep warm.
It’s expensive! And you also need to deal with building the beds.
So the spring gardens wait for you to get around to making your beds. Or maybe you’re waiting on your husband to make them. Or for your brother to lend you his saw.
Meanwhile, if you go with my favorite, easy, raised-bed style, you could have been all planted long ago.
Easy Raised Beds the Biointensive Way
I have built beds with wood, cinder blocks, stones, bricks, bamboo, and even bottles.
Generally, though, I now stick to a modified version of the easy raised-bed design recommended by John Jeavons in his book How to Grow More Vegetables.
No borders, just a nice section of well-dug earth which you DON’T step on after digging. That ground will stay loose for a long time. I’ve planted on year-old double-dug beds and they were still nice and loose.
Jeavons recommends double-digging 5 foot wide beds with a fork and a spade, like this:
My Modifications
This system works well, but there are a few things I changed for my own gardening.
First, the Spacing
I prefer wide spacing to tight spacing, especially in situations where I need to haul water.
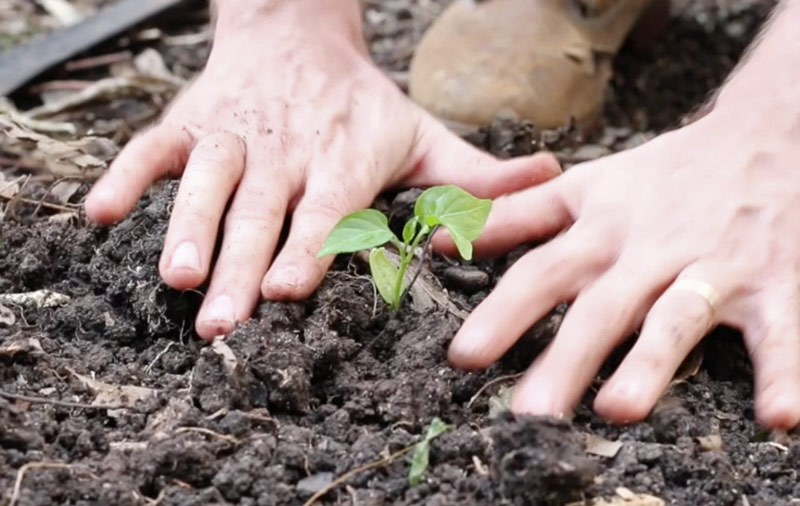
Give them some room and they’ll compete less. Tighter spacing creates a need for more water and much higher soil fertility. Widely spaced plants are better at taking care of themselves.
Second, the Width
The theory with 5 foot wide beds is that they create a microclimate as the plants grow together and the leaves touch. I don’t know about that as I haven’t tested it; however, 4 foot beds have worked fine for me. Even 3 foot beds are great. 5 foot beds are too much to reach over . . . and just feel clunky.
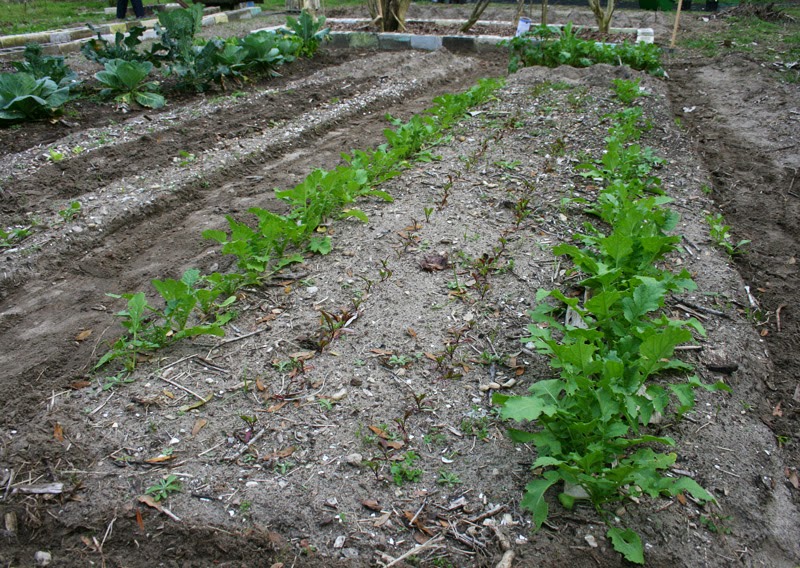
Here are some small ones:
And some wider ones:
Those might be nearing 5 feet wide, actually, but 4 feet is easier to handle.
Third, the Tools
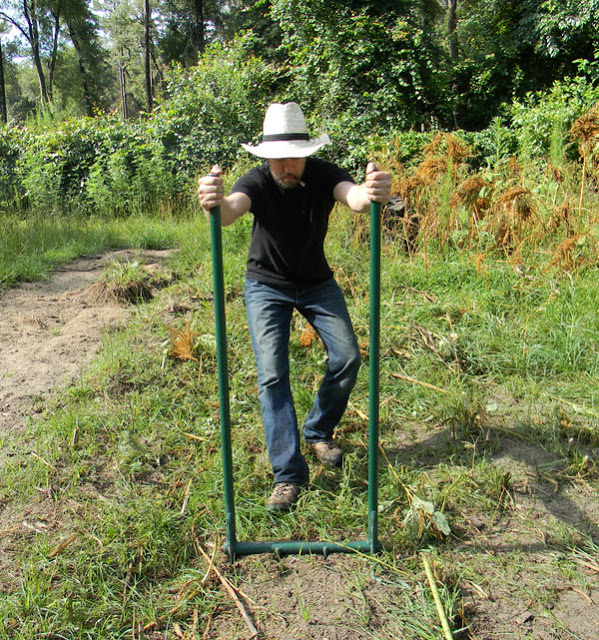
Instead of double digging with a spade and fork, I now do most of my digging with my Meadow Creature broadfork:
. . . and the triangular hoe I got from Easy Digging.
The broadfork doesn’t break ground as thoroughly as a fork and spade, but you can go a lot faster and cover much larger gardens without breaking your back.
It’s a much easier tool to use and is rather like rowing. It feels good to broadfork—much more so than digging with a spade.
Once I have my bed loosened, I shape it up with the triangular hoe. If I want it really neat, I’ll also use a rake to level the seedbed.
In between beds, I like 3 foot paths. Less than that and you’re always crowded. Our old homestead had beds with less than 2 feet between beds.
That saves on space, but it’s harder to work and feels claustrophobic. Spread out!
Conclusion
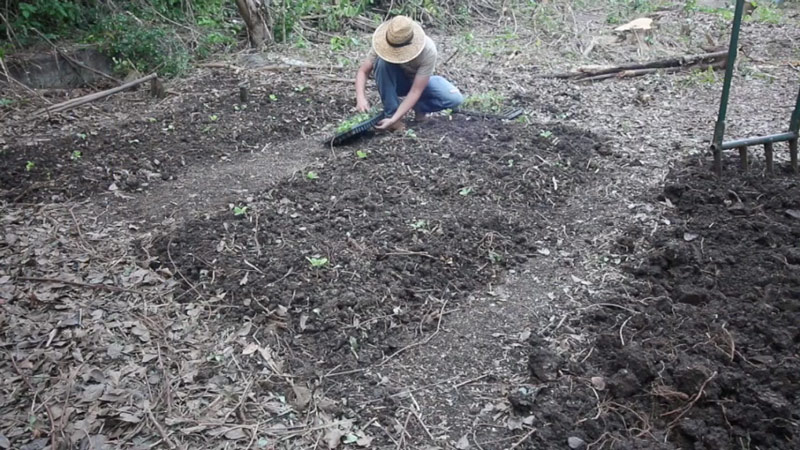
I’ve found that a simple 4 foot x 8 foot raised bed mound like these can be built in perhaps a half hour. The ones I’m making now are taking longer, as I’m pulling out rocks and roots, but if you were working in a lawn, they’d be done in no time flat.
Here’s my new video on this method, so you can really get a look at what I’m doing:
The plants love these beds just as much as beds with borders. Why make cedar raised beds or square-foot garden beds with pressure-treated lumber when you can just dig mounded beds like these? It’s so easy—and I find these easy raised beds are better when it comes to weeding, as well. There’s no wood for the weeds to work themselves in around.
If you’re looking to try something new in your spring garden and haven’t built this style of mounded bed before, I encourage you to give it a try. This is about the easiest garden you can make, and it’s free. I don’t see the need to spend money on borders anymore. I just make neat mound gardens and plant them up. The vegetables make them beautiful.
I’ll be digging more over the coming weeks as we get ready for spring. Be sure to subscribe to my YouTube channel so you can follow along as I post new videos.
But for now, get out there and get digging!
_________________________
The Grow Network is a participant in the Amazon Services LLC Associates Program, an affiliate program designed to provide a means for our team to earn fees for recommending our favorite products! We may earn a small commission, at no additional cost to you, should you purchase an item after clicking one of our links. Thanks for supporting TGN!
David The Good is a Grow Network Change Maker, a gardening expert, and the author of five books you can find on Amazon: Compost Everything: The Good Guide to Extreme Composting, Grow or Die: The Good Guide to Survival Gardening, Totally Crazy Easy Florida Gardening, Create Your Own Florida Food Forest, and Push the Zone: The Good Guide to Growing Tropical Plants Beyond the Tropics. Find fresh gardening inspiration at his website TheSurvivalGardener.com and be sure to follow his popular YouTube channel.


COMMENTS(4)
Always an inspiration. I may need to get one of those broadforks, with the heavy clay soil around here.
Years ago I created what we fondly called my indian burial ground. Inspired by The Square Foot Garden, I created steep 3 ft high raised beds (to allow for some settling and avoid the rock/clay beneath) with sunken pathways between and no borders other than a fence around the perimeter to control when the chickens feasted on garden bugs. I placed thick coats of hay along the pathways and watered by turning on the hose along the path until I saw the hay lifting, flooding the ground at below-root level. This ample water pulled the roots DEEP, which kept the soil from shifting. I heeded ‘companion planting’ guidelines as well as common sense, placing plants with the deepest roots and below-ground produce at the highest points with herbs and companion plants along the edges. My easy-care burial-mound garden was bountiful beyond my wildest expectations. I mean it was high, full, attractive, and LUSH LUSH LUSH, even years after being abandoned. The roots were DEEP, The mounds clearly remained even 10 years later, with re-growths of many of the original plantings.
That was 30 years ago. I was a city-girl and scared of growing anything, especially under scorching severe-heat conditions. It was guidance from a good book, ingenuity, and a desire for simplicity that turned me into a gardening-lover.
When I got overwhelmed about gardening with all the uptight methods out there, David the Good made it easy and I thrived on … and now I compost and garden just like him, the easy way. His YouTube videos are awesome and his books make you laugh out loud. Thank you David!
I started building wooden raised beds and then I wanted more height (easier on the back) so I raised them even more by putting the wooden frames on cinder blocks.