Basic Care for Cutting Boards
Whether wooden or plastic, your cutting boards need all the care they can get in exchange for the hard work they do in your kitchen. I guess most chefs would say that the most important kitchen tool is a knife but… what goes underneath that knife? The humble cutting board, of course!
Here are some simple ways you can care for those cutting boards by keeping them clean and well-preserved.
Read more: Easy and Natural Home Cleaning
How to Clean Your Cutting Boards
Plastic cutting boards are considered easier to clean because their composition allows you to put them into a dishwasher for a sanitizing bath. While it is true that you should never submerge your wooden cutting boards in water or wash them in the dishwasher, cleaning them well isn’t really hard. Wash your wooden cutting boards in very hot water with a quality soap and a good scrub brush to ensure that all debris and a good portion of any residue bacteria is cleared away. Really – hot water, soap and a good scrub brush will work wonders.
You can also set your cutting boards in the direct sunlight for an hour or two to solar “cleanse” them. If you choose to do this, be very careful in summer since some high temperatures can cause your cutting boards, plastic or wooden, to warp and even crack. There’s no real way for the home cook to measure how much cleanliness you get from the sun, but it is the world’s most powerful nuclear reactor – it’s bound to do some good!
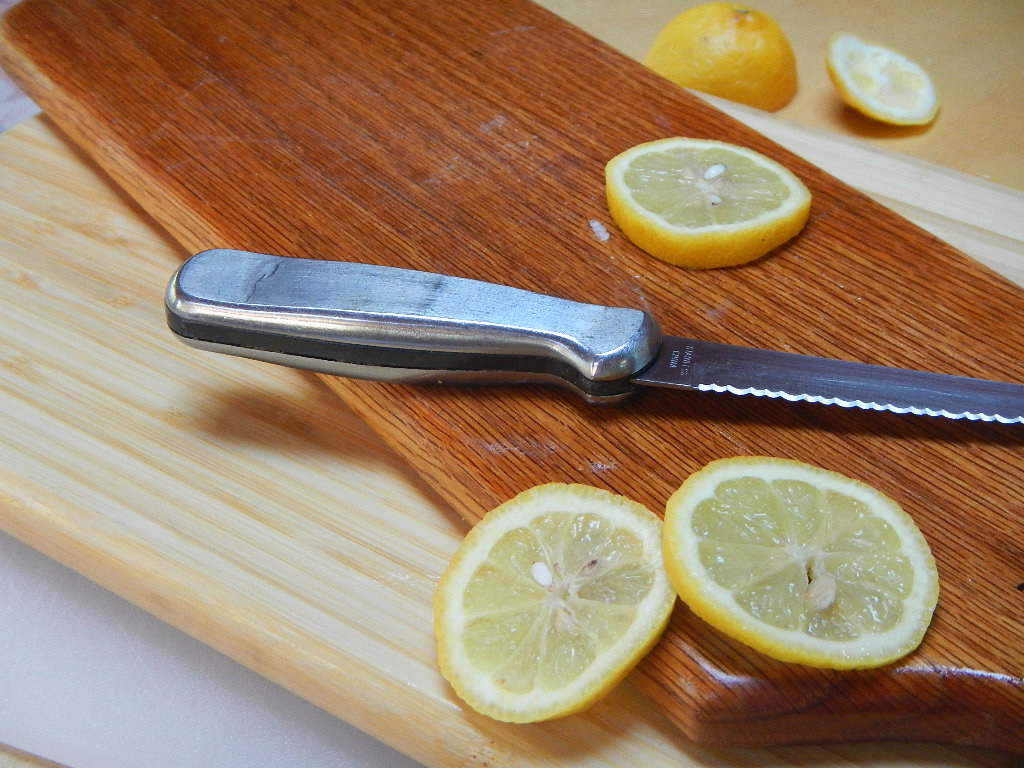
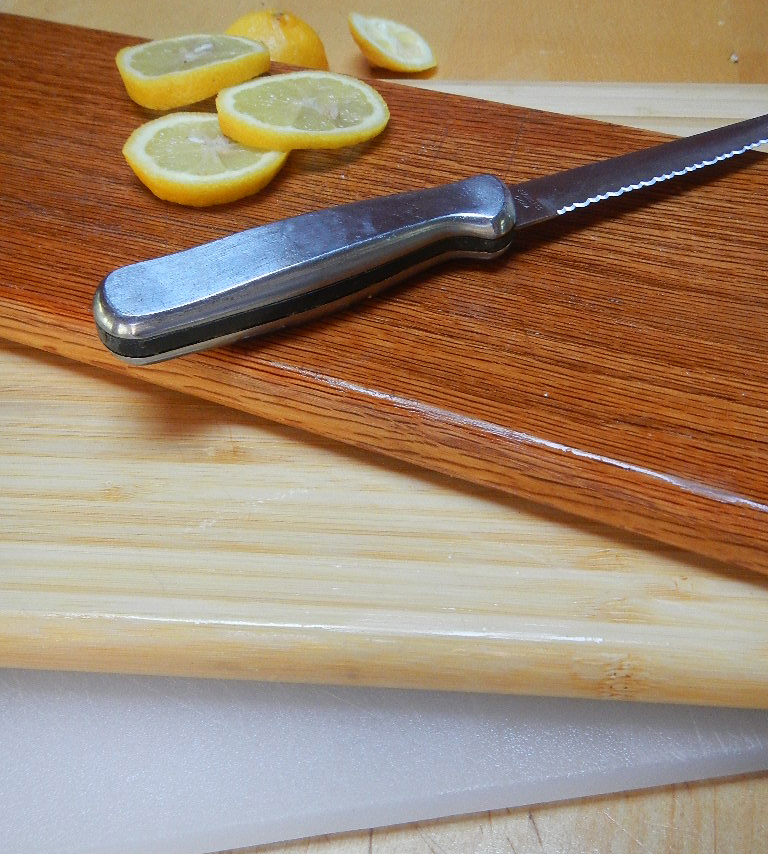
You will most likely read recommendations for cleaning cutting boards that include the use of lemons and salt, both rubbed into the surface of the boards. While both raw lemon and salt are cleansing, they’re not necessarily cleansing enough to kill bacteria like E. coli, or other bad bogeys such as yeasts and mold. For more information, you can read this report from the USDA’s Food Safety Laboratory on their experiments with foul kitchen sponges and various methods of detoxifying them – lemons and salt included.
In short, use lemons and salt if you’d like, but to really get your cutting boards clean (plastic or wooden), I suggest you try this simple disinfecting combination spray, endorsed by a food scientist at Virginia Polytechnic. Using vinegar (distilled or apple cider) in one spray bottle and hydrogen peroxide (3% solution) in a separate spray bottle, give each cutting board several spritzes with each spray. Watch for some light bubbling to appear on the surface of the board and allow it to sit for a few minutes before simply washing it off with soapy water. This same spray combination would work anywhere in the kitchen to cleanse surfaces, and even fruits and veggies (the original purpose for the spray). Be sure to include cutting boards and this spray in your stash of “stuff” for your new outdoor garden produce cleaning station, if you decide to build one using these instructions.
Different Boards for Different Uses
To keep things simple you may want to make a kitchen rule that only plastic cutting boards are to be used for meats, while wooden cutting boards can be reserved for breads, fruits and vegetables. If you’re eliminating plastics in the home, designate a special wooden or bamboo cutting board that’s just for meats so you can give it very a thorough cleaning each time it’s used.
The more a wooden cutting board is wetted down and scrubbed, the shorter it’s life span as a solid cutting board. Even so, wooden cutting boards can have their longevity increased if you take the time to pamper them with a little restorative treatment, as described below.
Wood Preservative for Cutting Boards
Alas, once a plastic cutting board has seen its day, pretty much all you can do with it is throw it out or repurpose it in the garage or shop.
Wooden cutting boards, however, can have their utility extended by following a few simple steps.
• After each washing, hand-dry your wooden cutting boards with a lint-free cloth, moving with the grain of the wood.
• To ensure dehydration, allow your wooden cutting boards to air dry, elevated on a dish rack or anything else that allows for air circulation underneath. Never place it flat on the counter to dry as that will trap moisture on the underside. You can tilt the cutting board on its side to dry, though some people report that can result in the wood cracking on the standing end. The best way to avoid cracking is to never submerge and soak your wooden cutting board in water, even when cleaning it.
• After a thorough washing and drying, use the recipe found here to treat your wooden cutting boards. The application of this food safe wood finish can be done as often as every cleaning, especially if you live in a very arid climate. For most of us, though, two to four times a year is sufficient to give our wooden cutting boards a healthy, protective coating. Because this wood polish recipe is so wholesome (in fact, you could probably eat it, if you really wanted to), you needn’t worry about it contaminating the food that touches your cutting boards.
• Store your cutting boards in a cool, dry place.
Cutting boards are tools that find their way into everyday use and, with a little care and attention, you can ensure that they’re in the kitchen serving you for many years to come.
Honey Rowland is a homeschooling mother of 3 kiddos. She and her hubby Ben use Montessori, Waldorf, and Attachment Parenting methods. They live together on their mini organic farm, raising vegetables, goats, American Guinea Hogs, a big mix of heritage breed chickens and a few Great Pyrenees Livestock Guardians. She lives a hands-on learning lifestyle, and you can learn more at Honey’s Life.


COMMENTS(4)
When young, yes i can remember that far back. I worked at the local butcher. Everything was cleaned at the days end. the butcher block was always the last thing cleaned It was scraped with a rasp and only salt was used. we had another block of wood with groves to hold the salt as we scrubbed it onto the block. we used no water. and the remainder was left until the next day. No power used then. As i look back this job built my muscles more than any.
Grampa
The woods oils are anti-bacterial and and make wooden chopping boards superior to plastic. If you wash them after every use you will never have any problem and that is scientifically proven!
That takes us up to the next level. Great pogisnt.
This is what I have been using. A friend shared the recipe with me years ago.
SPOON BUTTER
1 part bees wax to 3 parts coconut oil (or oil of choice)
Directions:
Place a mason jar inside a saucepan on the stove. Fill the saucepan water until it reaches halfway up the mason jar. Turn stove to a medium-low heat. Add beeswax and coconut oil to your jar (1 part beeswax, 3 parts coconut oil) and allow to melt. Once melted, give oil a good stir to help emulsify it and carefully remove the jar from water bath to allow to cool. Seal with a lid.
Optional: Once the mixture has cooled, add a few drops of lemon essential oil .
Lemon EO has antiseptic, antifungal, and antibacterial properties and will add a nice, clean scent!
To use, scoop out a small amount of the butter and slather it into wooden spoons, cutting boards, etc and allow oil to absorb overnight. Any residual oil can be wiped off the next day.
Reapply every month or so, or when they start to look dry.
BONUS: Your hands will feel extra soft afterwards!
I only made a small batch for my first attempt but am going to be needing more soon! Next time I think I will make a bigger batch and put it into small jars and give them as gifts along with a nice wooden spoon. I would love to get such a fun and unexpected gift! 🙂